Building GitOps CI/CD Pipelines: Terraform, FluxCD, Docker, Kubernetes, Helm & Kustomize - Part 1
Discover how to build automated GitOps CI/CD pipelines with Terraform, FluxCD, Docker, and Kubernetes. Learn modern deployment strategies.

If you're building modern apps today, CI/CD is one of those topics many engineers would rather not think too deeply about. But let’s face it, at the end of the day, we all want the same thing: to get our apps deployed quickly, reliably, and with as little manual effort as possible. The thing is, CI/CD can be as simple or as advanced as your needs require.
That brings me to GitOps: a term derived from “Git Operations.” It’s a powerful approach to managing infrastructure and application deployments where everything is defined declaratively, version-controlled in a Git repo, and automatically kept in sync with the actual deployed state. This results in deployments that are not only faster but also more reliable, auditable, and consistent across environments.
Now, adopting a full GitOps style CI/CD pipeline using tools like Terraform, FluxCD, and Kubernetes does come with a learning curve. It’s not a plug-and-play setup as it does require a solid grasp of containerization, infrastructure-as-code, and cloud-native concepts. If that sounds like a bit much for where you are right now, you might find more mileage in platforms like Google Cloud Run, Vercel, Netlify, AWS Fargate or Railway, which abstract away most of the complexity while still getting your code live in minutes.
Ok, enough talk! on to the tutorial. 😁
This series walks through setting up a GitOps CI/CD pipeline using:
- Terraform to provision infra (Google Kubernetes Engine, Cloud SQL)
- FluxCD to automate application deployment from a git repository
- GitHub Actions for building and publishing Docker images
- Helm & Kustomize to manage app deployments
The goal is to get you shipping a real app: a simple note taking app built with Next.js, Prisma, Postgres DB and fully Git-driven deployments on Kubernetes, with automated updates and DB migrations baked in.
Provision the Infra.
Prerequisites:
- Sign up for a google cloud account if you don't have one else create a new project or re-use an existing one. you can sign up here: https://console.cloud.google.com. Take note of the project id, you'll need it later.
- Install & setup the gcloud cli, then authenticate using the following commands:
-gcloud auth login
-gcloud auth application-default login - Sign up for a terraform cloud account here if you don't have one:
https://app.terraform.io - Install, setup & login using the terraform cli, you can follow instructions here: https://developer.hashicorp.com/terraform/install
- We'll be using Github to host our terraform code, if you don't have a Github account create one, else create a repository we will use for our setup. You can also fork a copy of the tutorial terraform code here:
https://github.com/chukaofili/tutorial-gitops-pipeline - First, create a new private repository named
fluxcd.
Next, generate a GitHub Personal Access Token (PAT) that does not expire, scoped specifically to this repository. You can create one here: https://github.com/settings/personal-access-tokens/new
Make sure the token has the following permissions:- contents = "write"
- metadata = "read"
- pull_requests = "write"
- administration = "read"
- We'll need to connect our VSC Provider to our terraform cloud account. Since we're using Github as our provider, you can set that up follow these instructions:
- Open the Terraform Cloud UI and navigate to the organization settings.
- Under "VCS Providers" click "Connect VCS" and select "GitHub App".
- Install the app into your GitHub org/repo(s).
- This will produce an installation ID that Terraform can reference later.
Note:
If you’re having trouble connecting a VCS provider to your Terraform Cloud account — for example, if you previously connected it and the UI shows it as “Installed” but it’s not working — try the following steps:- Uninstall the GitHub App from your GitHub organization or account.
- In Terraform Cloud, go to https://app.terraform.io/app/settings/tokens and delete any GitHub App OAuth Tokens listed.
- Reconnect your VCS provider from scratch.
Run the provisioner.
In the repository I shared earlier, under part-1/terraform, you’ll find two folders: init and infrastructure.
We’ll start with the init folder. This contains the initialization scripts that will set up your Terraform workspace and configure auto-apply on Git push. All files are commented to explain what’s happening.
Step 1: Configure your variables
Make a copy of terraform.tfvars.example and rename it to terraform.tfvars.
Fill in your own values. You can also review variables.tf for a full description of each variable and what’s required.
Here’s an example of my configuration:
terraform_cloud_organization_name = "chuka"
terraform_cloud_project_name      = "notestack"
terraform_cloud_workspace_name    = "production"
github_organisation               = "chukaofili"
github_repository                 = "tutorial-gitops-pipeline"
github_working_directory          = "part-1/terraform/infrastructure"
google_project_id                 = "notestack-468708"
google_region                     = "europe-west3"
workload_identity_pool_id         = "terraform-cloud-pool"
workload_identity_provider_id     = "terraform-cloud-provider"
service_account_id                = "terraform-cloud-sa"
github_token                      = "github-token"
Step 2: Initialize and apply
Once your terraform.tfvars file is ready, run the following commands:
cd ./part-1/terraform/init

terraform init # Intialize the terraform modules
terraform plan # Review the execution plan and see what changes will be made
terraform apply -auto-approve # Apply the changes
Step 3: Confirm changes
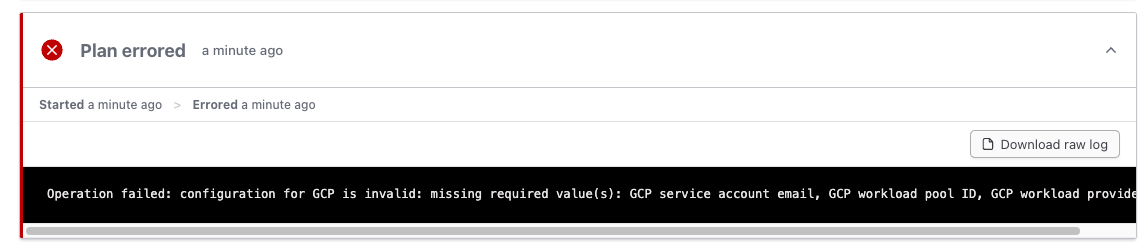
If everything worked correctly, you should now see the new project and workspace created in terraform cloud ui. Under your workspace’s Runs section, you’ll also notice the first run has already been triggered. It will likely show an error, this is expected since the trigger folder we configured already contains Terraform configuration.
Create cluster resources.
Next, we will provision the core infrastructure that will power our applications: a Google Kubernetes Engine (GKE) cluster and a Cloud SQL instance. Start by reviewing the infrastructure defaults in part-1/terraform/infrastructure/variables.tf and tune them to fit your use case. If you're just running this for learning purposes, then the defaults I've set should be compact and economical enough since this is just a tutorial. If not, you should review the defaults carefully.
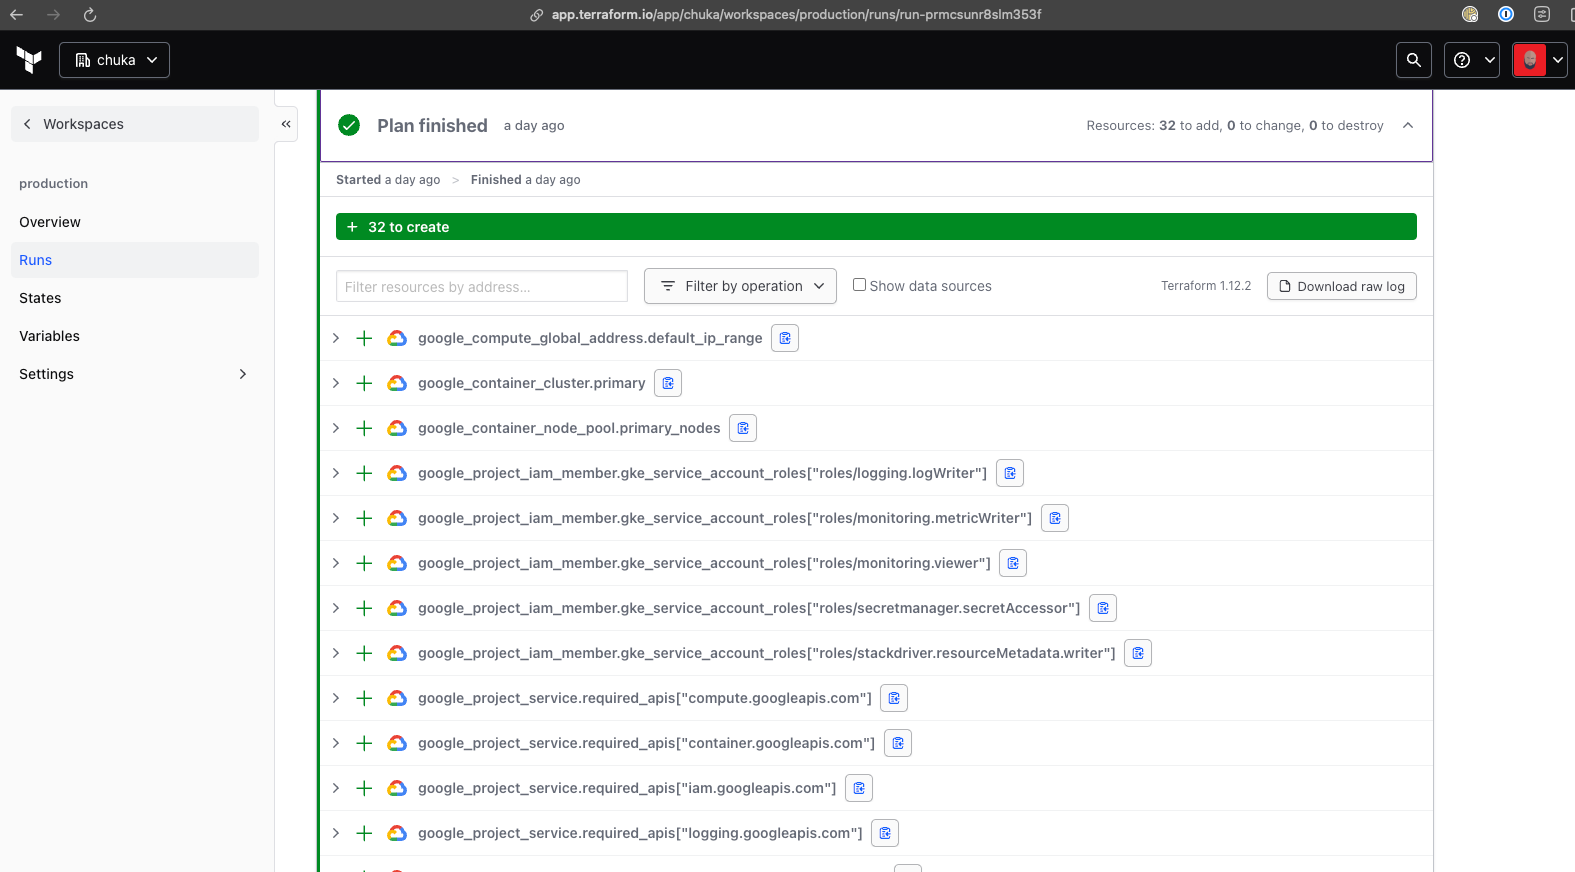
This Terraform setup automatically plans and applies infrastructure changes whenever updates are made to the part-1/terraform/infrastructure folder (this was setup manually with the init folder apply earlier). That means any modifications to the variables.tf file or any other file in this folder whether through a PR merge or a direct push, will trigger your second run. Make changes if needed or add a white space to any file to trigger the Terraform run.
You can monitor the run and track changes directly in the Terraform Cloud UI here: https://app.terraform.io/app/PROJECT/workspaces/WORKSPACE/runs
Be sure to replace PROJECT and WORKSPACE with the values from your part-1/terraform/init/terraform.tfvars file.
If everything went smoothly, your Google Kubernetes Engine cluster and Cloud SQL instance should now be up and running.
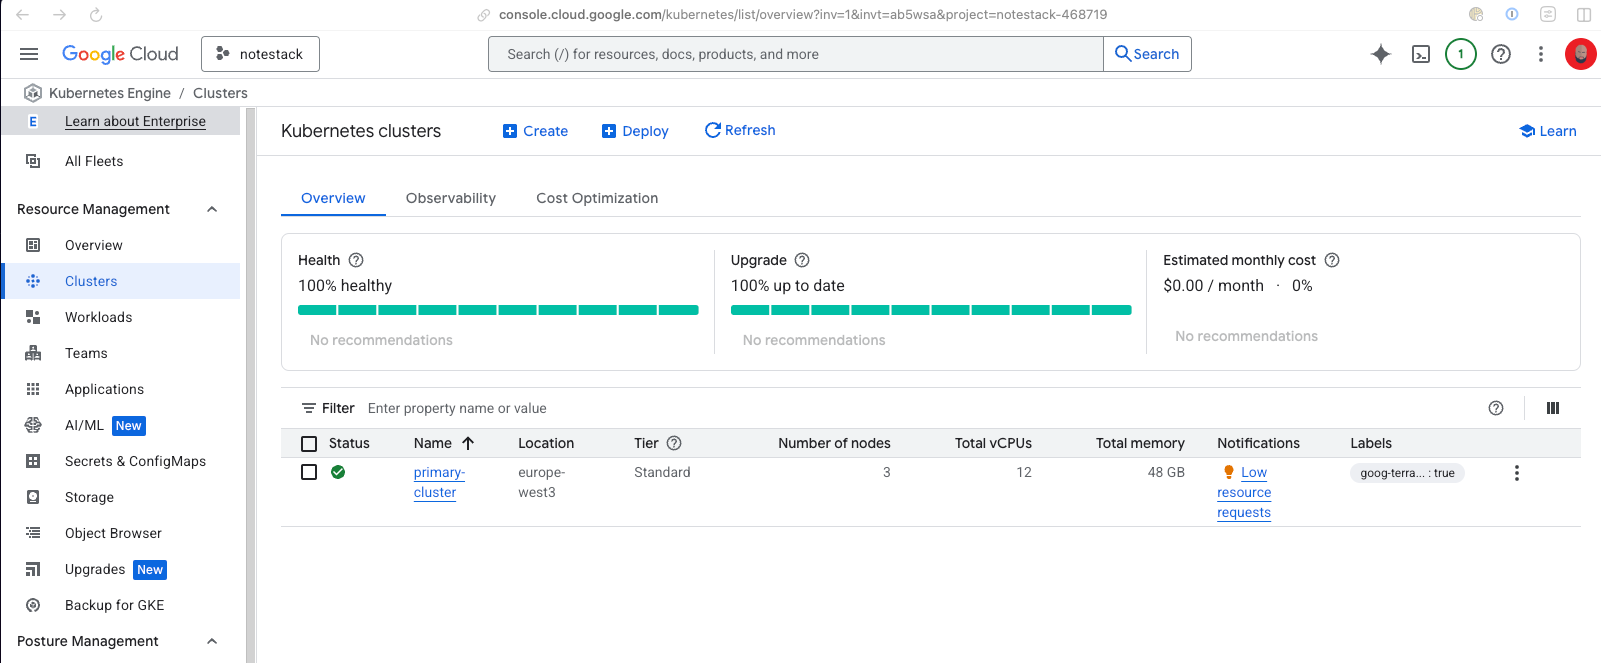
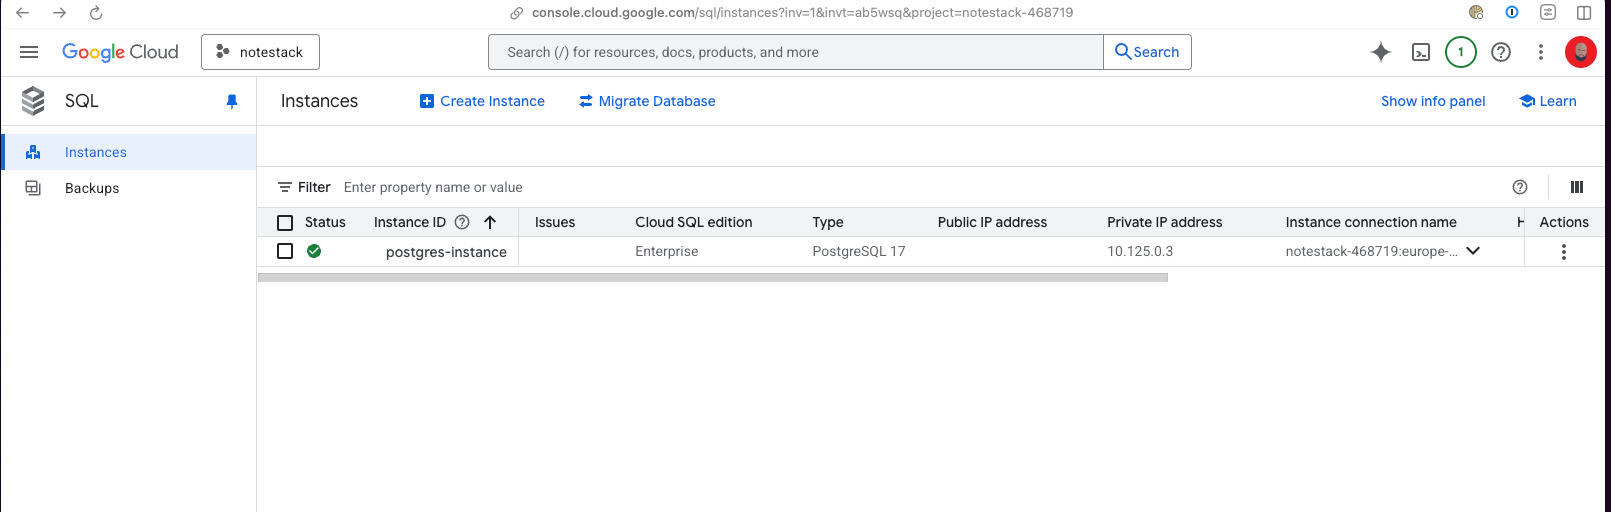
If you’ve gotten this far, congratulations! 🎉 You’ve successfully set up a GKE cluster and Cloud SQL instance, all managed with infrastructure as code powered by Terraform.
In the next part, we’ll dive into setting up and using FluxCD to manage self-hosted services as well as your own internal applications.